Skip to content


Clean grout is essential for keeping your tiles looking fresh and vibrant. Over time, grout can accumulate dirt, stains, and mold, which not only affects the appearance of your tiles but can also lead to damage if left untreated. Cleaning grout, however, can be a challenging task due to its porous nature and the tough stains it often harbors. In this guide, we’ll explore some effective tips and tricks to make grout cleaning easier, helping you maintain a spotless and appealing tiled surface.
Understanding Grout: What You Need to Know
Grout is a critical element in tiling, filling the gaps between tiles and providing a finished look. There are two main types of grout:
Sanded Grout: This type contains sand, making it more durable and suitable for wider joints (typically 1/8 inch or more). It’s commonly used for flooring and high-traffic areas because of its strength and resistance to cracking.
Unsanded Grout: This type is smoother and doesn’t contain sand, making it ideal for narrower joints (less than 1/8 inch). It’s often used for walls, countertops, and delicate tile surfaces where precision is key.
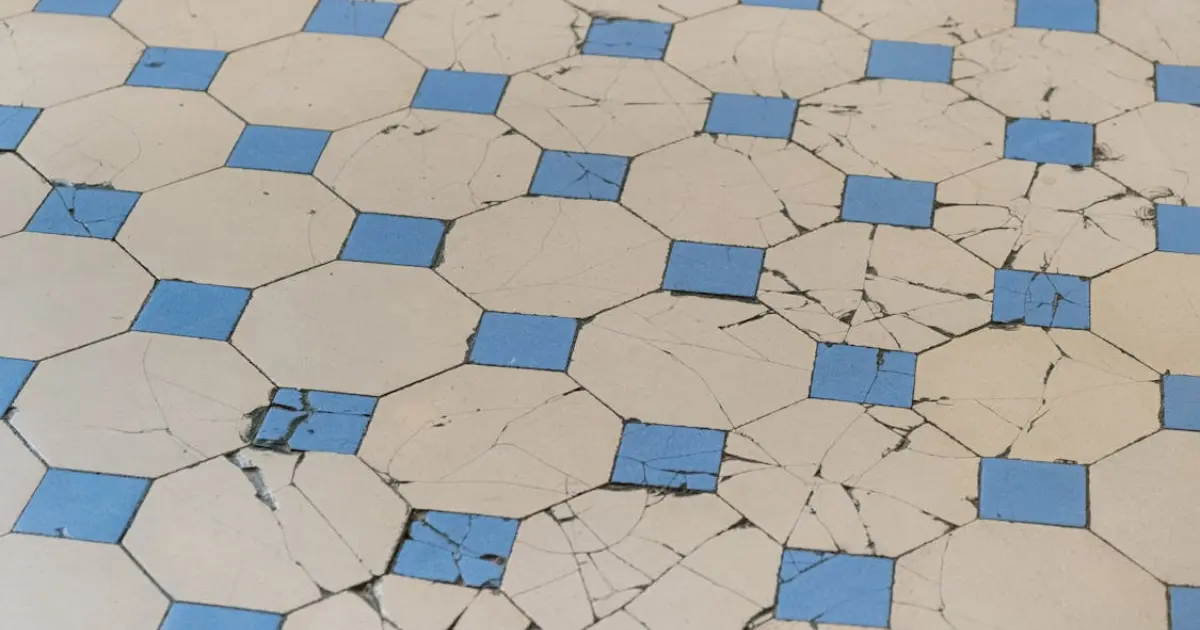
Grout is porous, which means it easily absorbs dirt, liquids, and stains. Over time, spills, mold, mildew, and everyday grime can accumulate, causing discoloration and making the grout look dirty. This not only detracts from the overall appearance of your tiles but also poses hygiene concerns, as dirty grout can harbor bacteria and mold.
The impact of dirty grout on tile aesthetics is significant. Even the most beautiful tiles can look dull and unattractive if the grout between them is stained. Additionally, neglecting grout maintenance can lead to more serious problems, such as grout deterioration and potential tile damage. Keeping grout clean is essential not just for maintaining the beauty of your tiles but also for ensuring a healthy and safe environment.
Essential Tools and Materials for Grout Cleaning
To effectively clean grout and restore its appearance, having the right tools and materials is essential. A grout brush is one of the most important tools you’ll need. It’s designed with stiff bristles that can penetrate grout lines and scrub away dirt and stains without damaging the surrounding tiles. For more intensive cleaning, a steam cleaner can be a powerful ally. This tool uses high-temperature steam to deeply penetrate and lift dirt from grout, providing both a deep clean and sanitization. For detailed work in tight or hard-to-reach areas, an old toothbrush can be a handy substitute, and microfiber cloths or sponges are perfect for wiping away dirt and excess cleaning solutions without leaving streaks.
When it comes to cleaning agents, you have the option of choosing between natural and chemical solutions. Natural cleaners like baking soda and vinegar are popular for their effectiveness and safety. Baking soda acts as a gentle abrasive, while vinegar helps break down stains and kill mold. Lemon juice is another natural option, known for its bleaching properties and fresh scent, and hydrogen peroxide can disinfect grout and remove tough stains without harmful chemicals. On the other hand, chemical options like oxygen bleach provide a more powerful cleaning solution, capable of removing deep stains without the harsh fumes associated with chlorine bleach. Commercial grout cleaners are also available and are specifically formulated for tackling grout dirt and staining at various levels.
Safety is a priority during grout cleaning, especially when using chemical cleaners. Wearing gloves is essential to protect your hands from harsh chemicals and prolonged water exposure. Masks are crucial, particularly when working in enclosed spaces, to avoid inhaling fumes from chemical cleaners or dust from scrubbing. Safety glasses are also recommended when using strong cleaning agents or a steam cleaner to protect your eyes from splashes or steam. By equipping yourself with the right tools, cleaning agents, and protective gear, you can ensure a more effective and safer grout cleaning process.
Step-by-Step Guide to Effective Grout Cleaning
Preparation:
Before you begin cleaning, it’s important to prepare the area and gather all the necessary supplies. Start by clearing the space of any items or furniture that might obstruct your work. This will give you full access to the grout lines and make the cleaning process easier. Gather your cleaning tools, including a grout brush, your chosen cleaning agent (whether it’s a commercial grout cleaner or a homemade solution like baking soda and vinegar), microfiber cloths or sponges, and any protective gear, such as gloves and masks.
Step 1: Pre-treating Stains
Begin by pre-treating the grout lines with your chosen cleaning solution. If you’re using a commercial grout cleaner, apply it according to the manufacturer’s instructions, focusing on the most stained or dirty areas. For a homemade solution, you can create a paste using baking soda and water, or mix vinegar with water in a spray bottle. Apply the solution directly to the grout lines, allowing it to sit for 5-10 minutes. This step helps to loosen dirt and stains, making them easier to remove during scrubbing.
Step 2: Scrubbing the Grout Lines
After the pre-treatment, it’s time to scrub the grout lines. Use a grout brush or a stiff-bristled brush to scrub the grout in a back-and-forth motion. Apply firm, even pressure to lift and remove the dirt embedded in the grout. For particularly tough stains, you may need to scrub more vigorously or reapply your cleaning solution. Be careful not to scrub too hard, as this could damage the grout or the surrounding tiles.
Step 3: Rinsing and Wiping Down the Tiles
Once you’ve thoroughly scrubbed the grout, rinse the area with clean water to remove any remaining cleaning solution and loosened dirt. Use a damp microfiber cloth or sponge to wipe down the tiles, ensuring that no residue is left behind. Rinsing is crucial, as leaving cleaning agents on the grout can cause discoloration or attract more dirt over time.
Step 4: Drying the Area
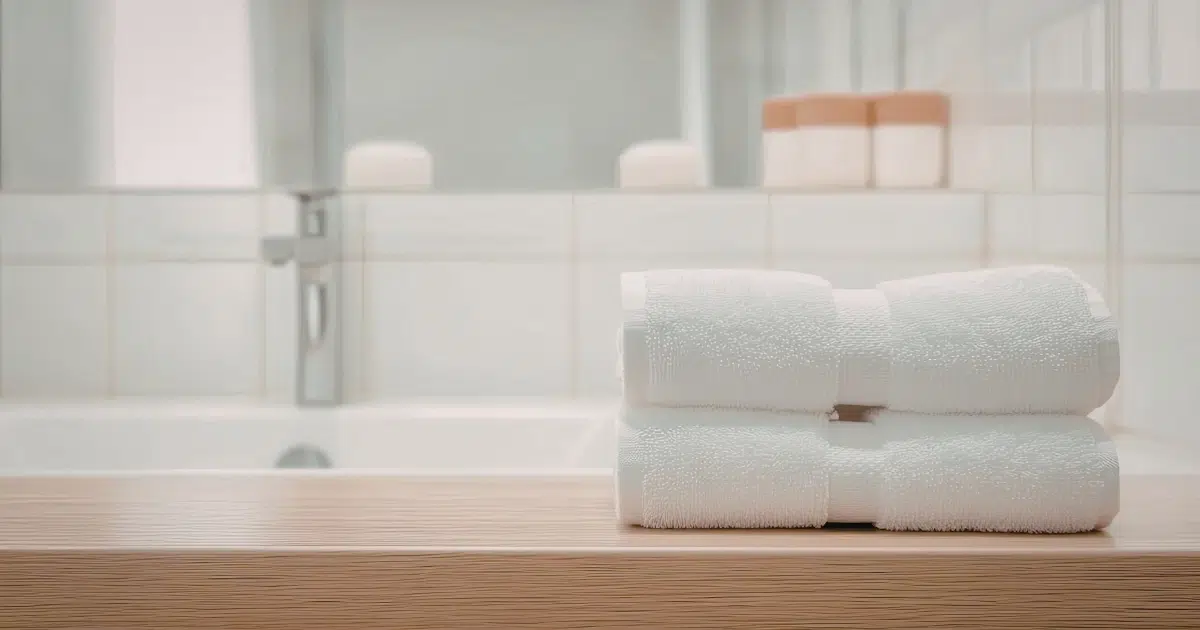
Finally, dry the cleaned area thoroughly to prevent moisture from settling in the grout lines, which can lead to mold growth. Use a clean, dry towel or cloth to absorb any remaining water on the tiles and grout. If possible, increase ventilation in the area by opening windows or using a fan to speed up the drying process. Ensuring the grout is completely dry will help maintain its cleanliness and prevent future issues with mold or mildew.
Pro Tips for Tackling Stubborn Grout Stains
Dealing with stubborn grout stains can be challenging, but with the right techniques, you can effectively restore your grout to its original condition. Here are some pro tips to help you tackle those tough spots:
Using a Steam Cleaner for Deep Cleaning
A steam cleaner is one of the most effective tools for deep cleaning grout, especially when dealing with stubborn stains. The high-temperature steam penetrates the porous grout, loosening dirt, grime, and mold that are embedded deep within the lines. Simply move the steam cleaner slowly over the grout lines, allowing the steam to work its magic. This method not only cleans but also sanitizes the grout, killing bacteria and mold spores that can cause discoloration and odors. For best results, use a steam cleaner with a grout-specific attachment.
Applying Baking Soda and Vinegar for Tough Spots
For particularly tough stains, a combination of baking soda and vinegar can be a powerful natural remedy. Start by sprinkling baking soda directly onto the stained grout. Next, spray or pour white vinegar over the baking soda. The mixture will fizz as the two substances react, helping to break down stubborn stains. Let it sit for a few minutes, then scrub the area with a grout brush or an old toothbrush. This method is highly effective for removing deep-set dirt and can also help to lighten discoloration caused by mold or mildew.
The Benefits of Oxygen Bleach for Brightening Grout
Oxygen bleach is another excellent option for brightening grout and tackling particularly tough stains. Unlike chlorine bleach, which can be harsh and damaging, oxygen bleach is gentler and safer for most tile surfaces. It works by releasing oxygen ions that penetrate and lift stains from the grout without causing discoloration or damage. To use, mix the oxygen bleach with water according to the instructions on the package, then apply it to the grout lines. Let it sit for 10-15 minutes to allow the oxygen ions to break down the stains, then scrub and rinse as usual. Oxygen bleach is especially effective for lightening and brightening grout, giving it a refreshed appearance.
DIY vs. Professional Grout Cleaning
When it comes to grout cleaning, deciding between a DIY approach and hiring a professional can depend on several factors, including the condition of your grout, the tools and products available to you, and your budget. Here’s a breakdown to help you make the right choice:
When to Attempt DIY Cleaning
DIY grout cleaning is a great option if your grout is only mildly to moderately dirty or stained. If you have the time and the necessary tools—such as a grout brush, cleaning agents, and possibly a steam cleaner—you can effectively clean your grout yourself. DIY methods work well for routine maintenance, touch-ups, and tackling smaller areas. Additionally, if you prefer using natural cleaning solutions like baking soda, vinegar, or hydrogen peroxide, DIY cleaning allows you to have full control over the products used in your home. It’s also a cost-effective solution if you’re working on a budget.
Signs That It’s Time to Call in a Professional
There are certain situations where professional grout cleaning is the better option. If your grout is heavily stained, deeply discolored, or has extensive mold and mildew buildup that DIY methods haven’t resolved, it might be time to bring in the experts. Professionals have access to industrial-grade tools, such as powerful steam cleaners and specialized cleaning solutions, that can tackle even the most stubborn stains and bacteria. Additionally, if you notice that your grout is crumbling, cracking, or if the tiles themselves are showing signs of damage, a professional can assess the situation and provide the necessary repairs or restoration. They can also apply high-quality sealants to protect your grout and prolong its cleanliness.
Cost Considerations for Professional Grout Cleaning Services
While professional grout cleaning services offer thorough and long-lasting results, they do come at a cost. The price of professional grout cleaning can vary depending on the size of the area, the severity of the stains, and the specific services required, such as sealing or repairs. On average, professional grout cleaning can range from $0.75 to $3 per square foot, with additional charges for sealing or restoration. While this might be more expensive than DIY, it can be a worthwhile investment for heavily soiled grout, large areas, or if you’re looking to save time and effort. Additionally, a professional clean can significantly enhance the appearance and longevity of your tiles, potentially saving you money on more extensive repairs down the line.
Summary
Maintaining clean grout is essential for preserving the beauty and longevity of your tiles. By using the right tools, such as a grout brush or steam cleaner, and effective cleaning agents like baking soda, vinegar, or oxygen bleach, you can tackle even the most stubborn stains and keep your grout looking fresh. Regular cleaning and proper care will not only enhance the appearance of your tiles but also prevent potential damage and hygiene issues. Remember, clean grout makes a big difference in your space, so make it a priority.
For the best porcelain tiles or installation tools, choose Tile Factory Direct. Their extensive selection and high-quality options ensure you’ll find the perfect tiles or materials for all your flooring needs.